| Shipwrecked in Tucma! | |
|---|---|

| |
| Details | |
| Quest Type | Main |
| Previous Quests | A trip to Kisiwa |
| Next Quest | First Aid |
| Starting Location | Wreck of the Narwhal |
| Requirements | ? |
| Reward | Tucma Mask 4 Temtem Incognito Hood Anonymous Cloak Rock-hopping hook |
Shipwrecked in Tucma! is the fifth main quest in the game and is received after landing on Tucma. Throughout the quest, the player loses their items, Temtem, and earns them back in various ways. They must defeat a Dojo Master and complete other various main quests in order to advance. After their salvation of the Narwhal, they travel to Kisiwa to fight off invaders.
Objectives[]
- Help Matthew find the survivors.
- Talk to Octlana.
- Find the hermit Naolin
- Cross the Xolot Reservoir and reach Quetzal
- Escape from the Mines of Mictlan
- Ask for help at the local Dojo.
- Complete the other quests
- Find an airship to Kisiwa
- Meet Manki in Kupleleza
- Rockhop all the way to Kisiwa!
Guide[]
The player begins by discovering they are missing their Surfboard, Archipelago Map, Crystal Skates, and Temessence Vial. By wandering through the Wreck of the Narwhal, the player can find the Map and the Vial (among other items) as flickering sparkles. They will retrieve the Surfboard later on in Tucma, but as of [v0.6.19], the Skates cannot be found anywhere in the game. Throughout most of this quest, the player cannot travel to any other island.
First, the player has to locate Adia Turay, located near the center of the Wreck, south-west of where they start. After her, they continue north-west to where Octlana rests. The player then weaves their way north through the Corrupted Badlands. With no Temporium, the player cannot purchase any items. However, they can return to Octlana to heal their Temtem, and access a Temdeck near the center of the Wreck.
After battling through the Corrupted Badlands, Naolin finds the player, heals their team, and gives the player the Tucma Mask gear. From then on, he becomes available to heal the player's Temtem. As the player continues west through the Xolot Reservoir, they eventually come across Dr. Sugey's lab, which has a new Temdeck and a HealTem Station. After coming all the way through the Reservoir, they find the Nahua Crater, leading to Quetzal. After arriving at the city, the player finds themselves in a cell at the Prison of Quetzal.
Imprisoned, the player temporarily loses all their items and Temtem. After some dialogue, the player gains freedom, but must head south through the Mines of Mictlan in order to reach the city, Quetzal. Just inside the Mines lies Ocelotl, who gifts the player four Temtem to utilize. The player can return to him to heal their team.
| No. | Image | Temtem | Type(s) | Level | |
|---|---|---|---|---|---|
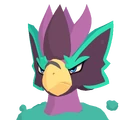
| 11 | 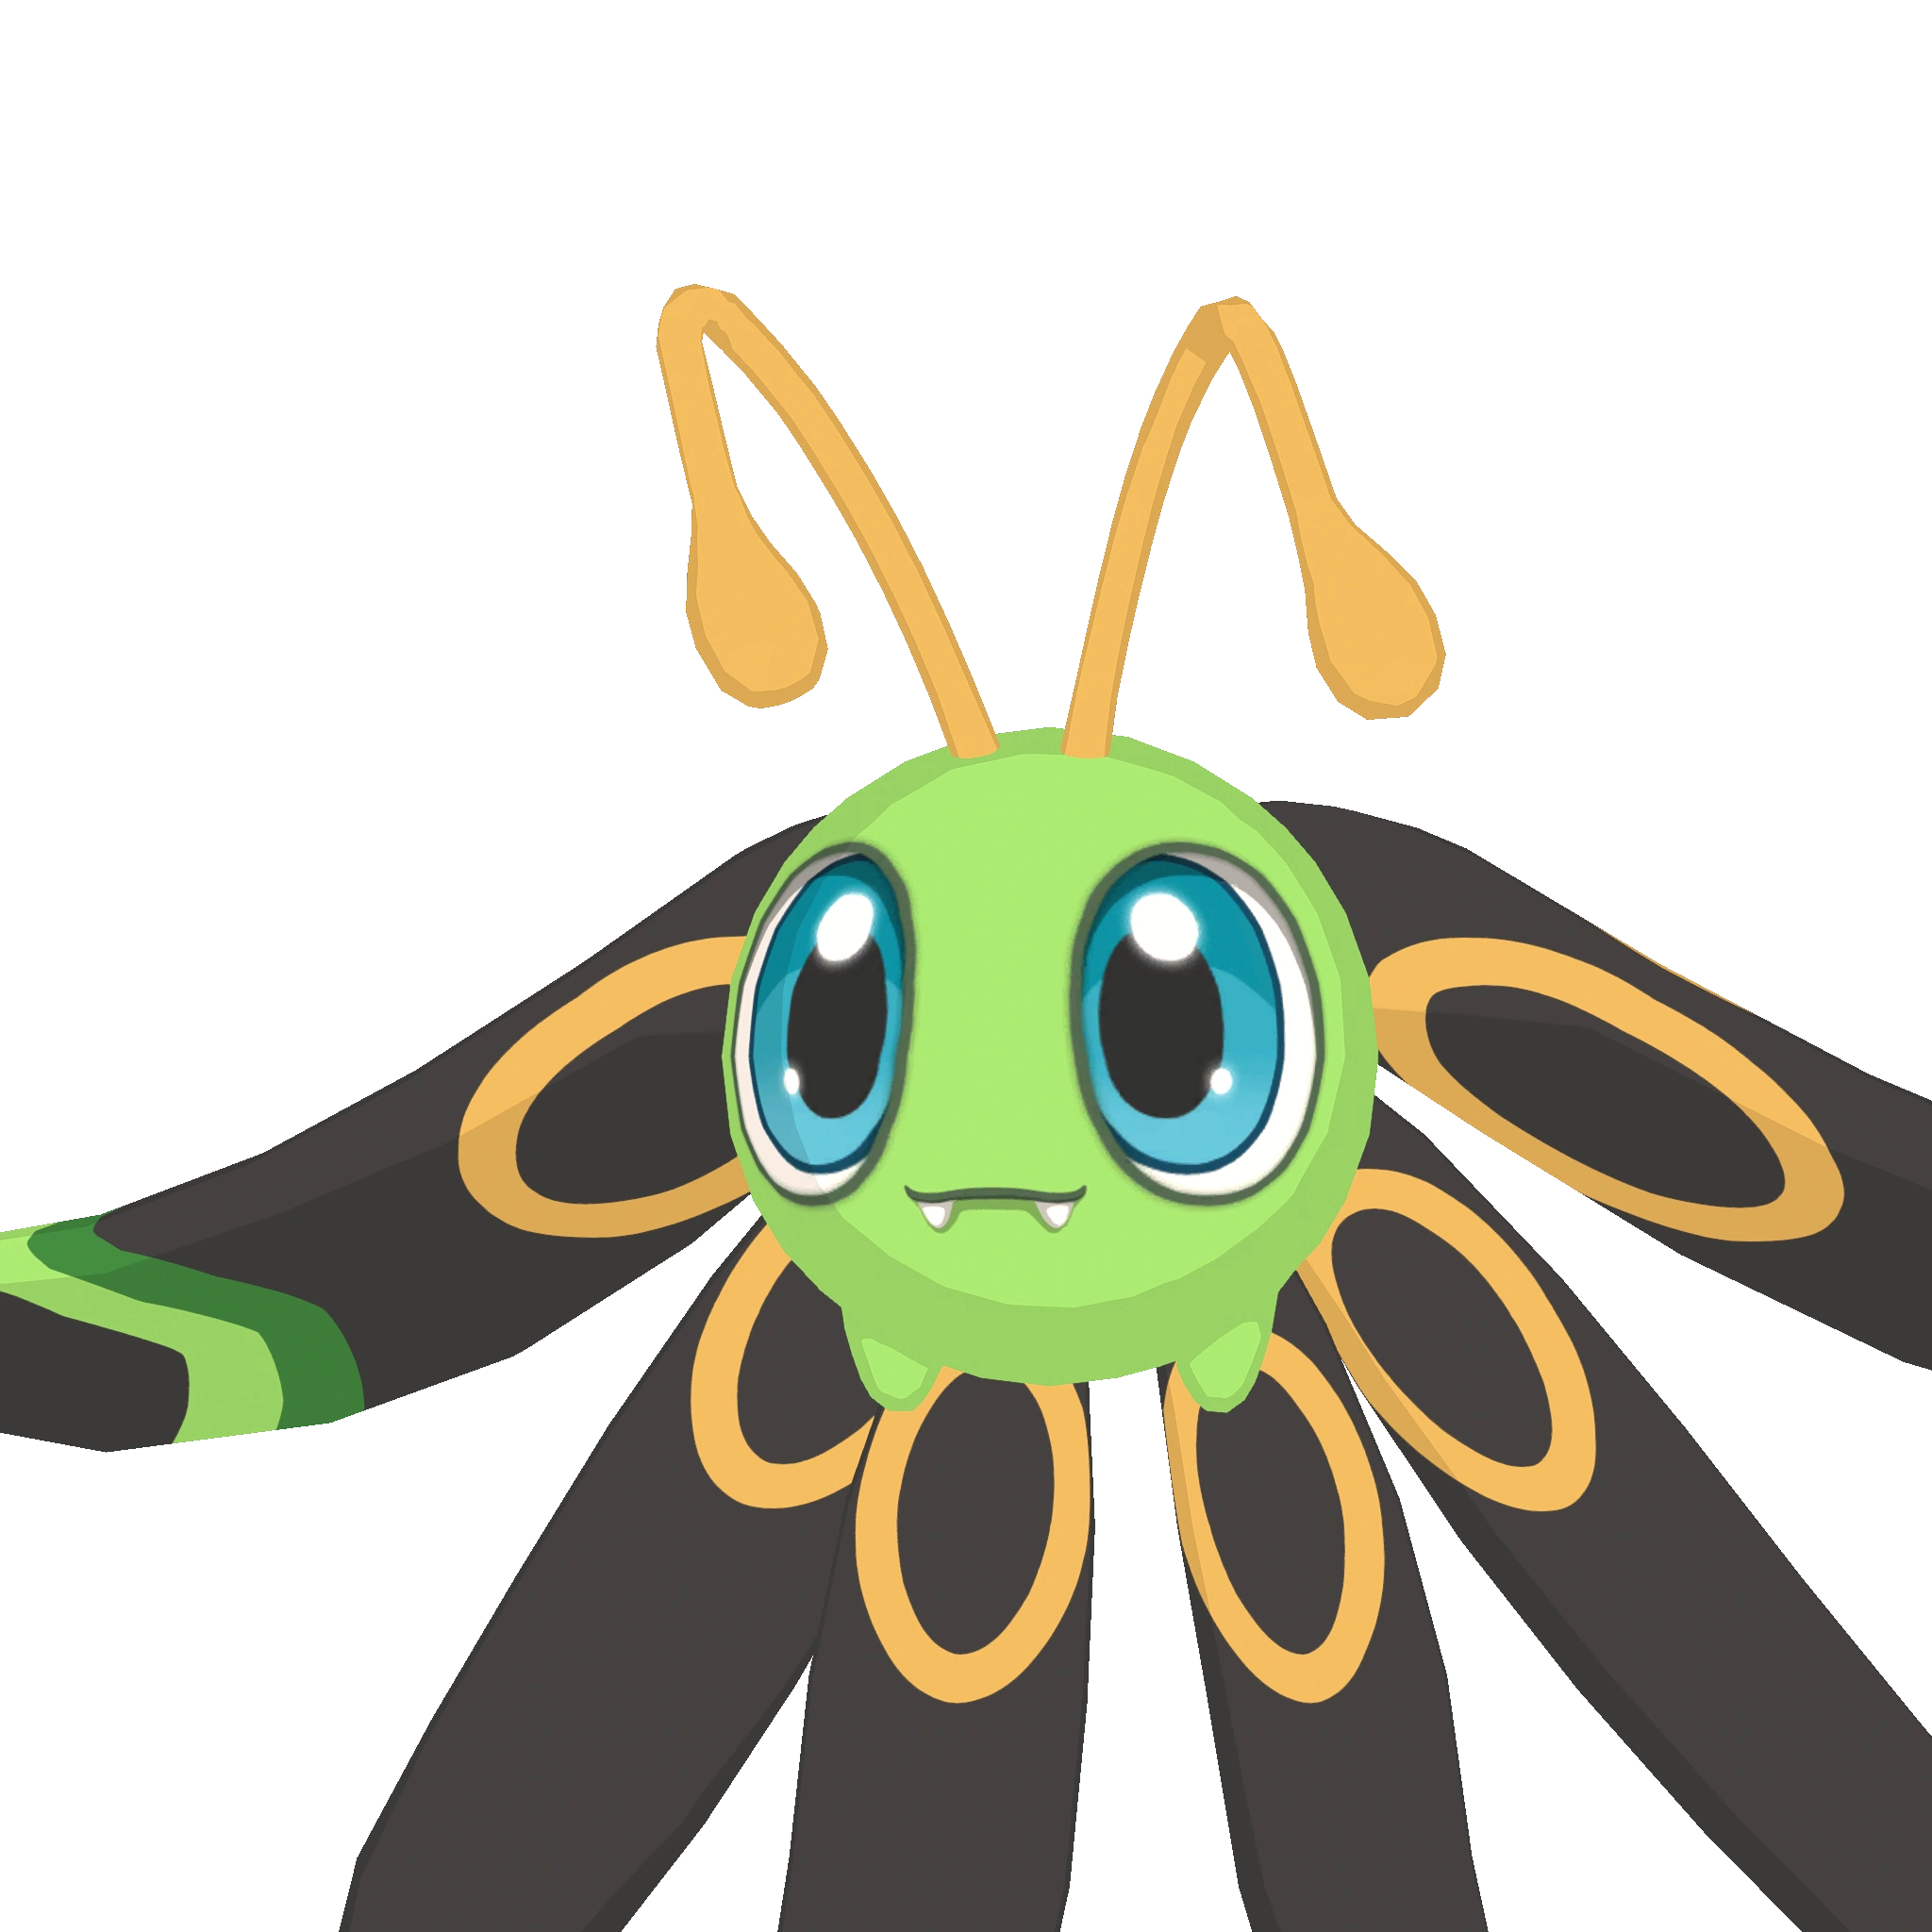 |
Loali | 38 | ||
| 140 | 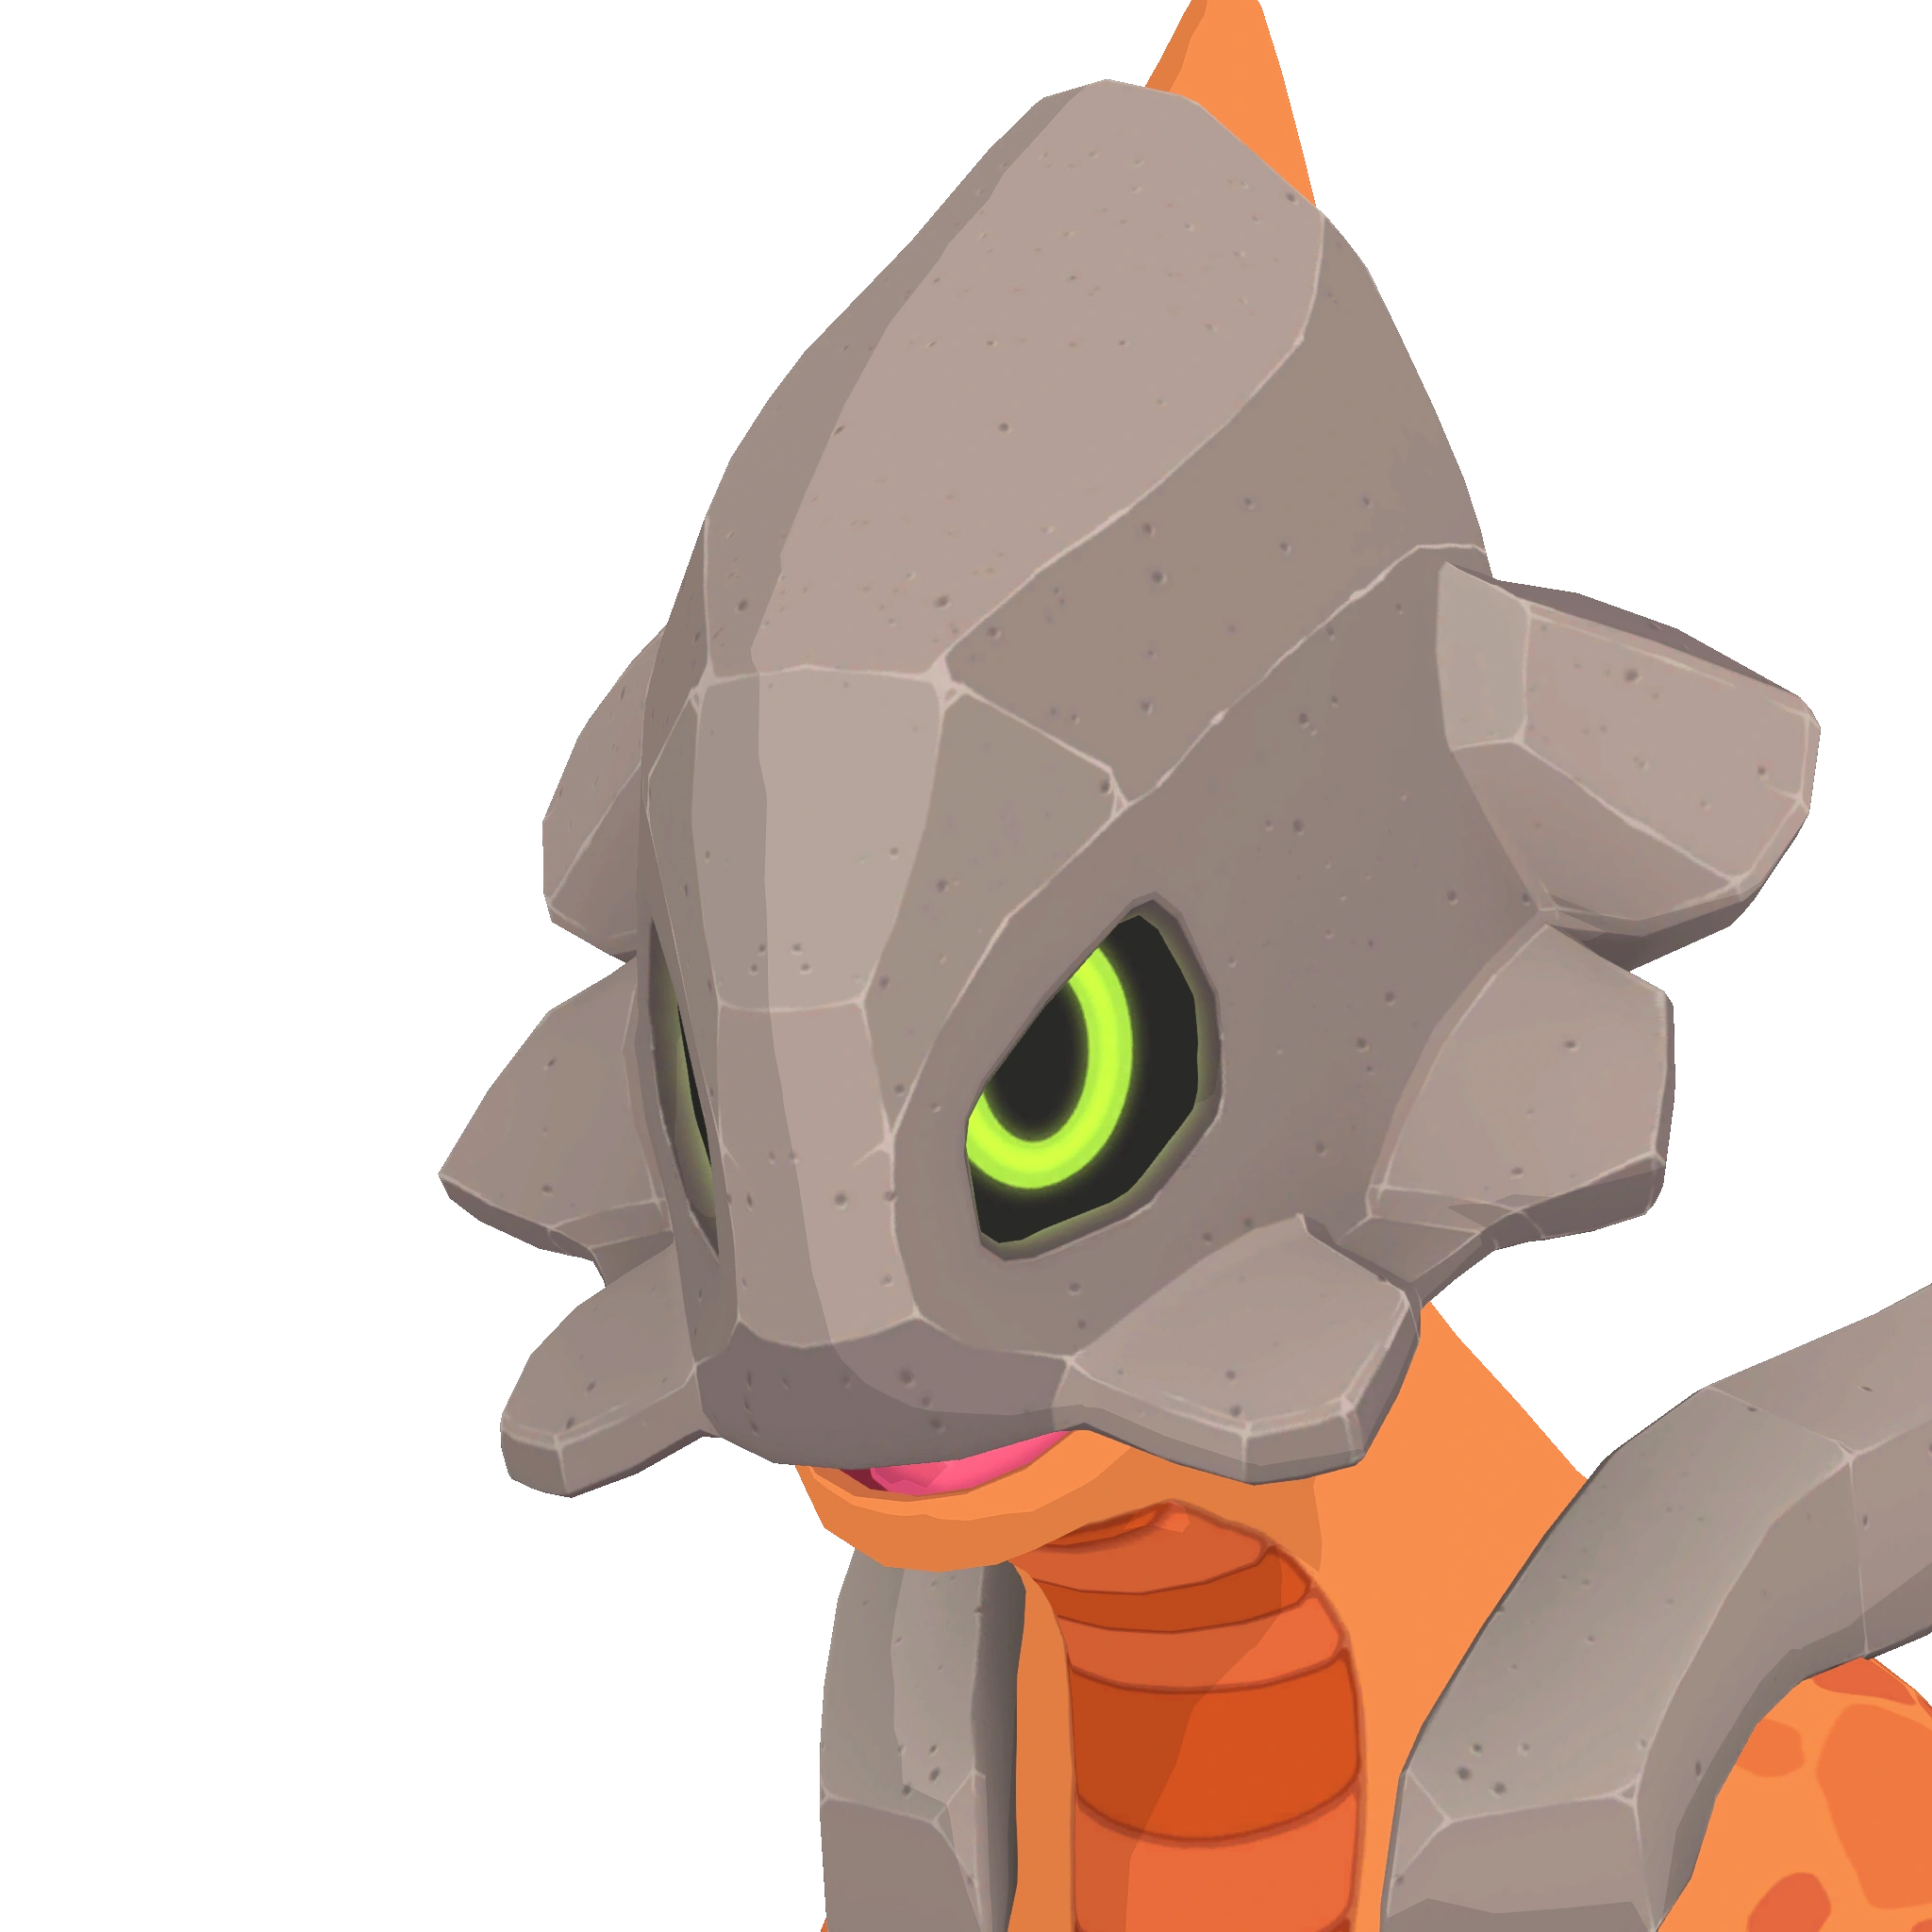 |
Vulcrane | 33 | ||
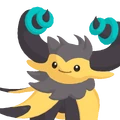
| 123 | 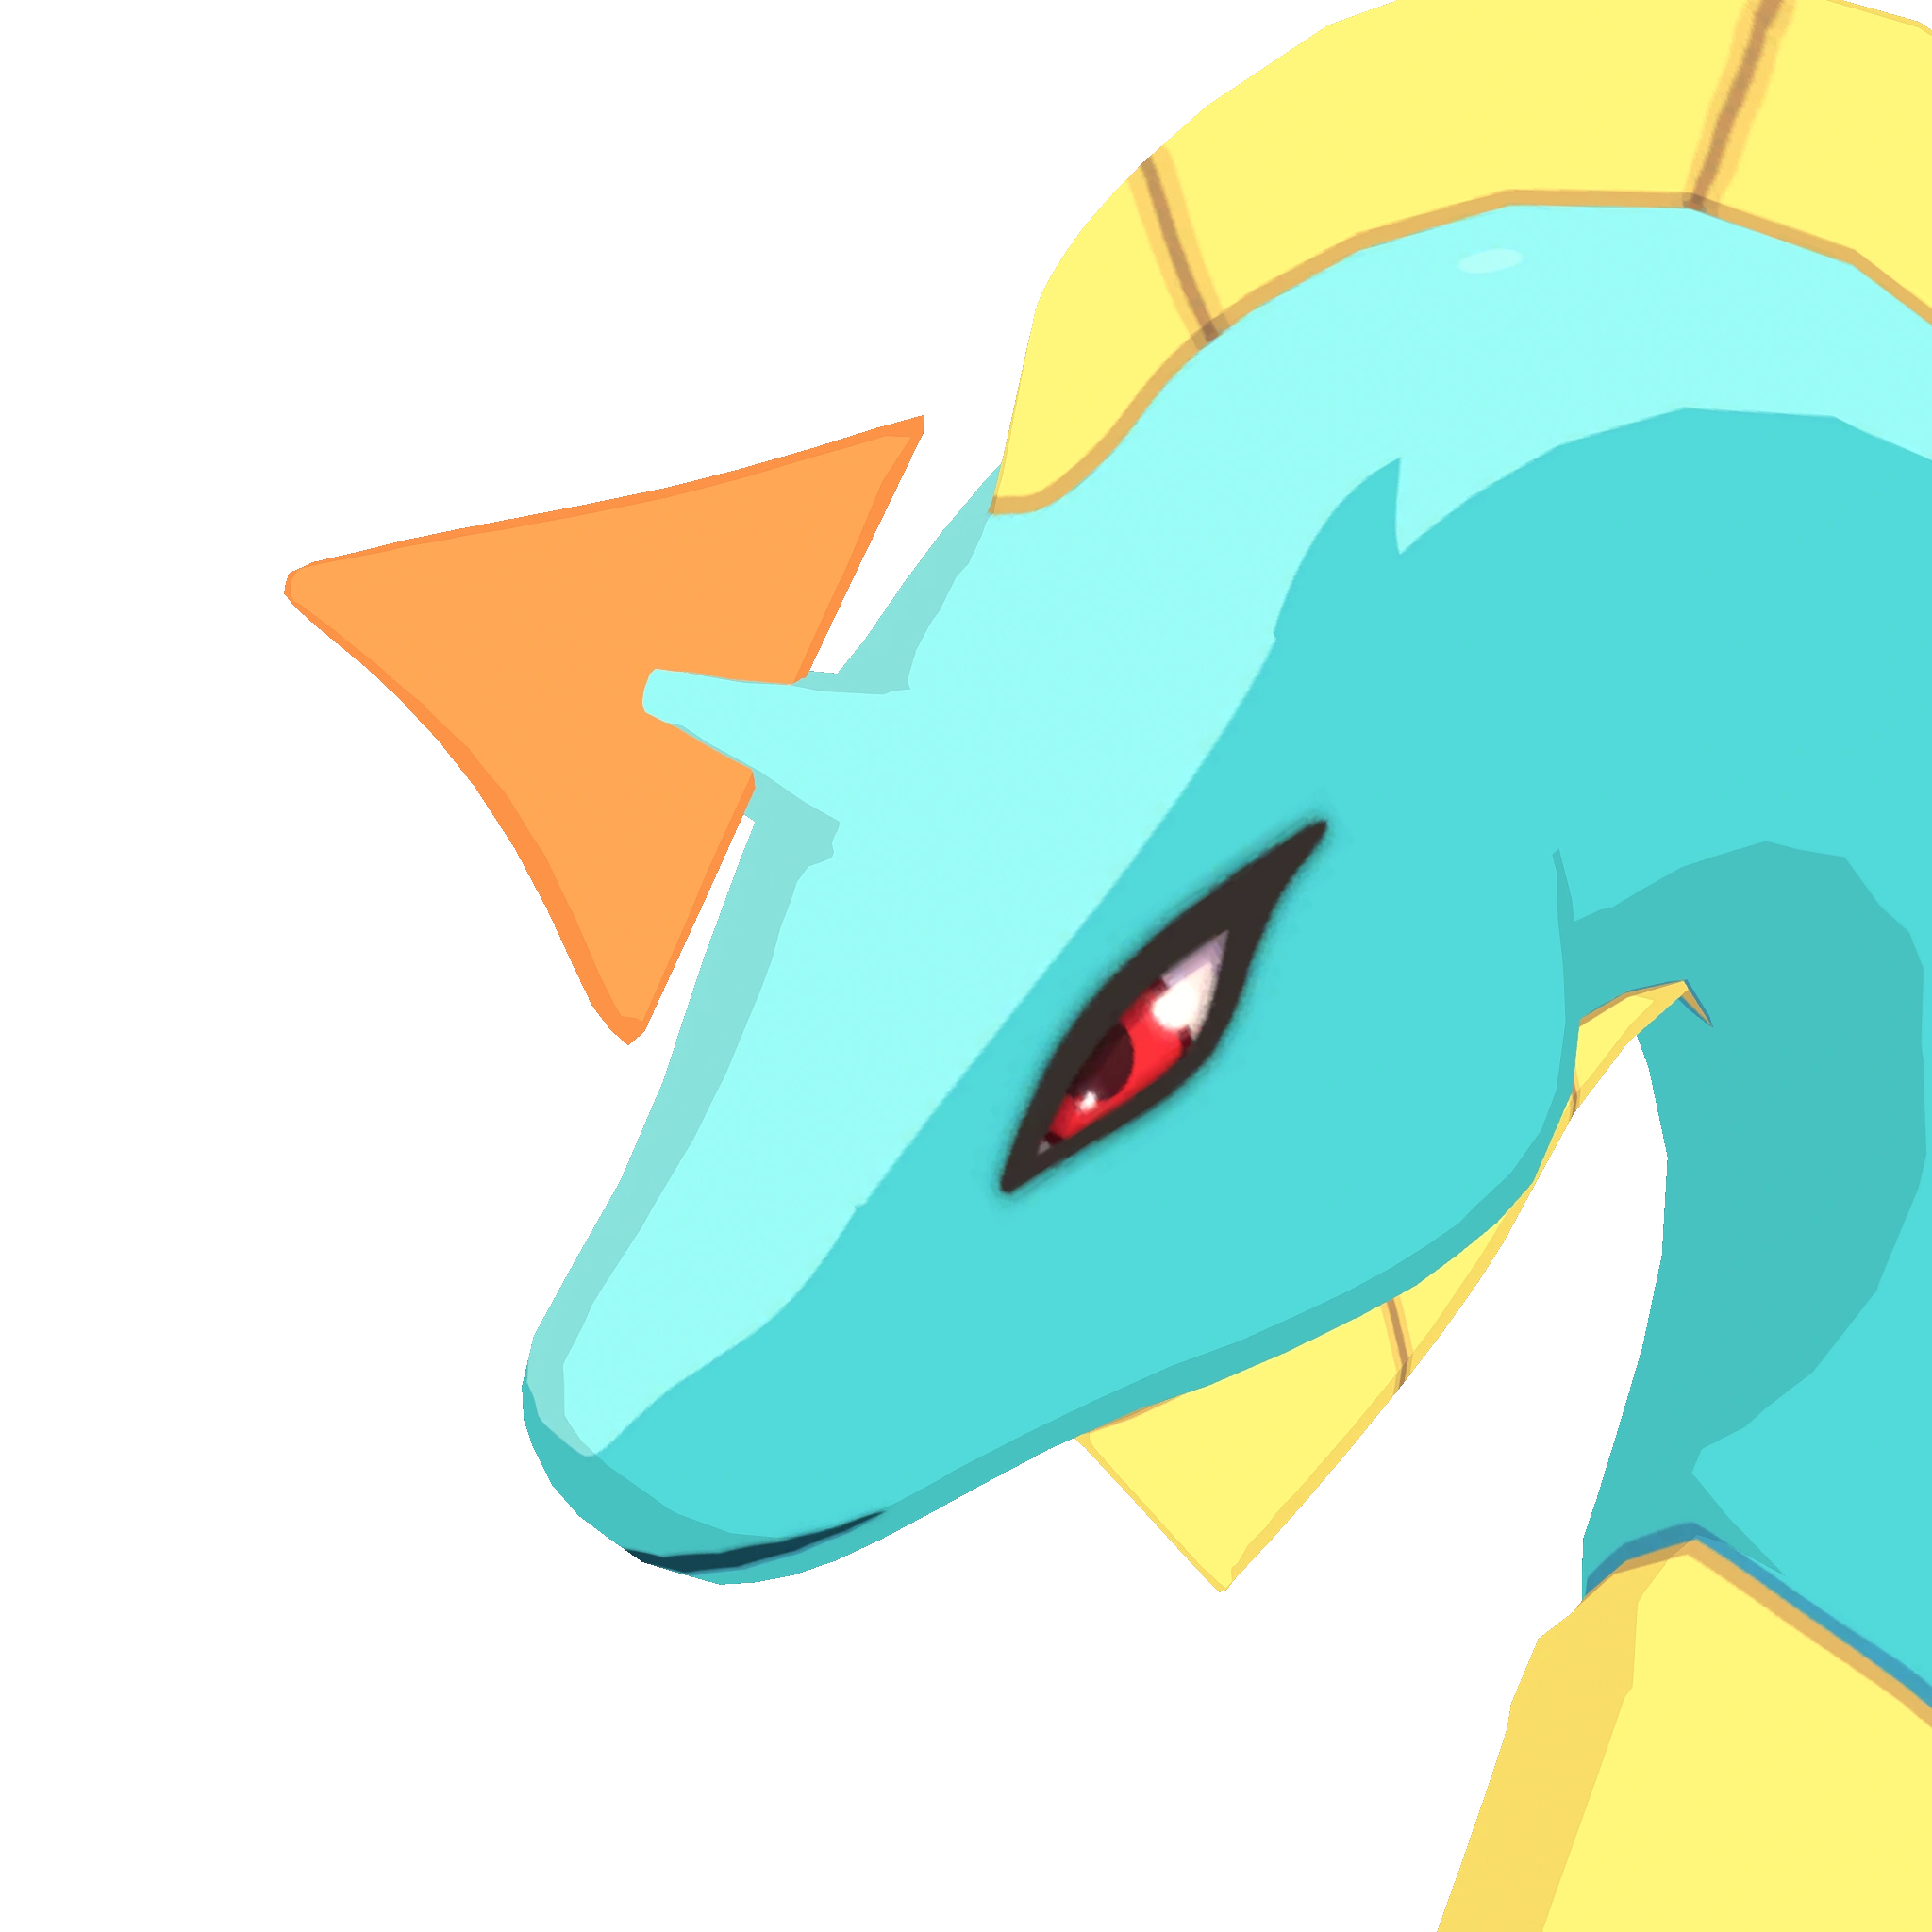 |
Nessla | 39 | ||
| 50 | 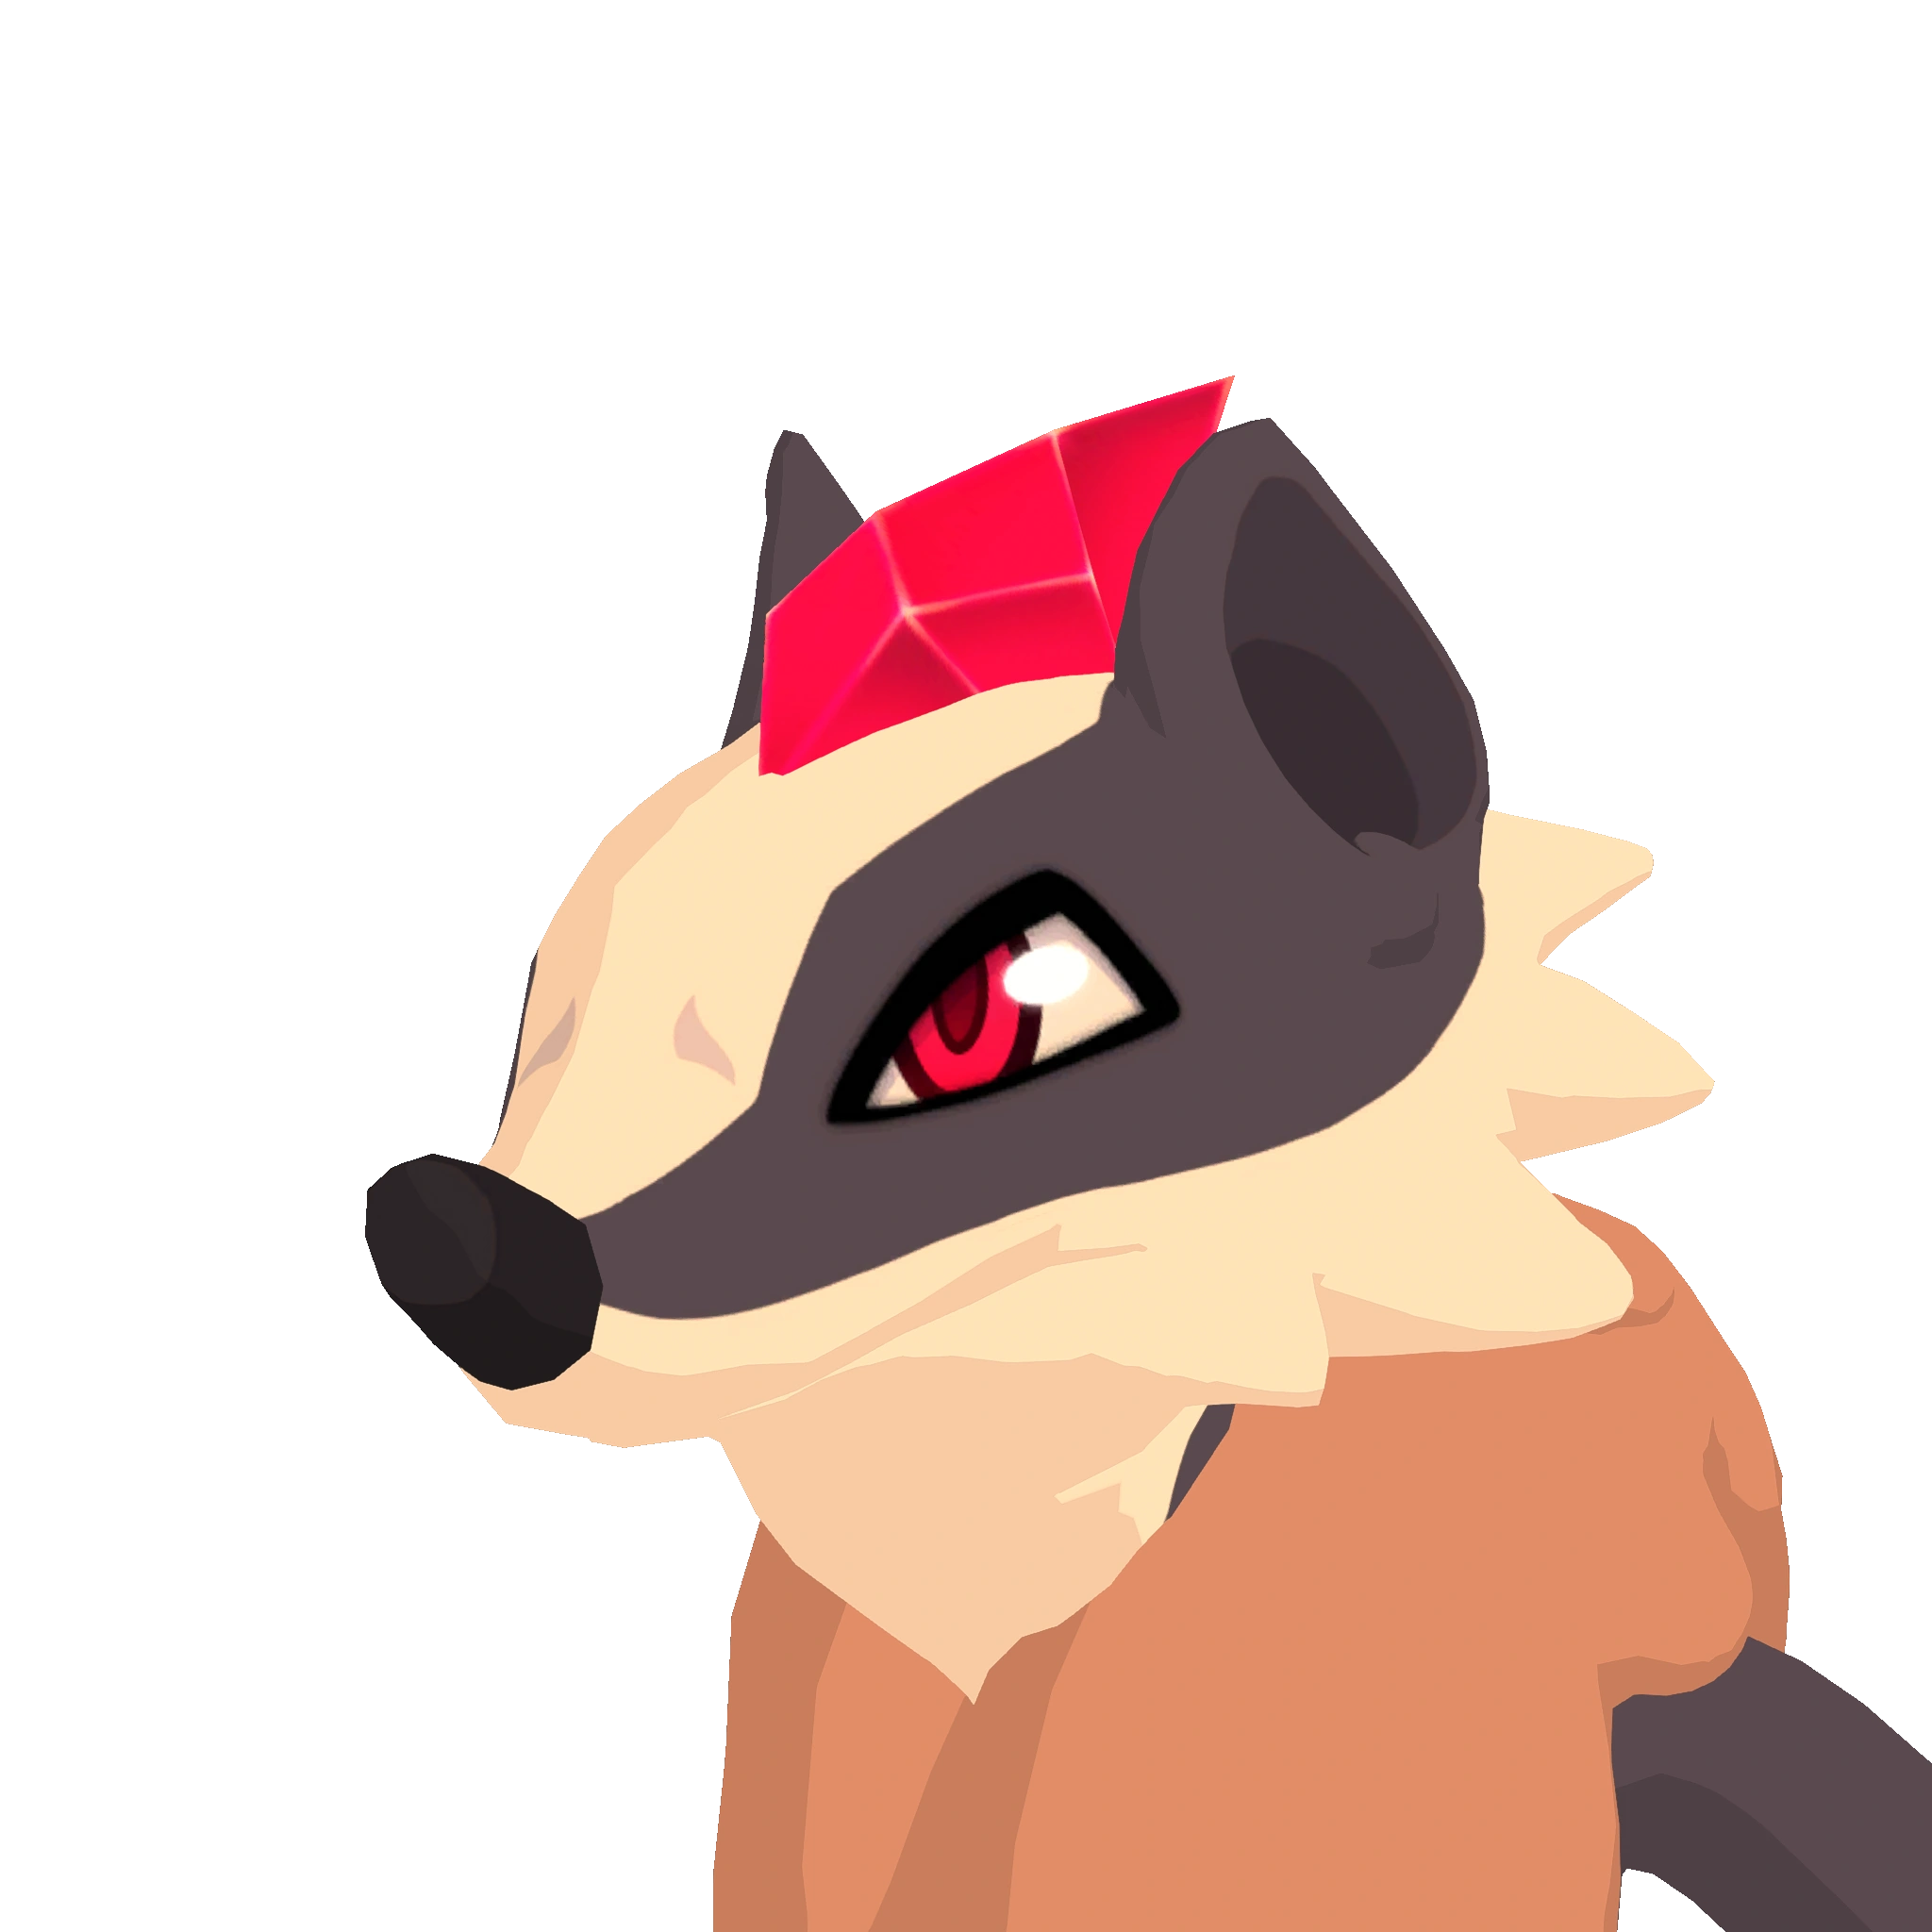 |
Valash | 35 |
After they head south, cross a large crystal surface, and head north, they near a Mini-Temporium and receive access to their previous items and Temtem. They also gain two cosmetics, a cloak and a hood, which give them access the city, Quetzal. The player finally has access to a complete Temporium, but until they defeat Yareni, they do not have access to the Tucma Surface, and still do not have access to any other island.
Their next task is to defeat the Dojo Master Yareni at the Quetzal Dojo. The player has unlimited attempts at winning this battle.
| |||||||||||||||||||||||||||||||||||||||||||||||||||||||||||||||||||||||||||||||||||||||||||||||||||||||||||||||||||||||||||||||||||||||||||||||||||||||||||||||||||||||||||||||||||||||||||||||||||||||||||||||||||||||||||||||||||||||||||||||||||||
| |||||||||||||||||||||||||||||||||||||||||||||||||||||||||||||||||||||||||||||||||||||||||||||||||||||||||||||||||||||||||||||||||||||||||||||||||||||||||||||||||||||||||||||||||||||||||||||||||||||||||||||||||||||||||||||||||||||||||||||||||||||


Upon defeat, the player will regain access to the surface of Tucma, and receives several other main quests to complete before continuing Shipwrecked in Tucma!, including Beached Narwhal, Free Matthew, and First Aid. They are all received at the same time, so the player can accomplish them in any order and simultaneously. They will also have to complete Find Kemal, which they receive while completing First Aid, and Water Supply, which they receive while completing Beached Narwhal. It is best to complete Beached Narwhal first in order to receive the Acid-Proof Surfboard and traverse the surface more easily.
After completing all the quests, the player finally can leave the island by talking to Captain Magda at the end of the Quetzal Airship Terminal. Although they cannot access Kisiwa via airship, they travel between Tucma, Omninesia, and Deniz. To continue the quest, the player simply talks to Manki near the entrance to Kupeleleza. From there, the player receives the Rock-hopping hook and can travel through the route to the Historical Customs Office and enter Kisiwa through the southern door.
Items[]
- Tucma Mask, a Gear kept as a reward
- Incognito Hood, a Cosmetic item kept as a reward
- Anonymous Cloak, a Cosmetic item kept as a reward
- Rock-hopping hook, a Key item kept as a reward
Story[]
After the Narwhal's crash-landing, the player wakes up hurt and confused. As they gather themselves, they realize several of their items are missing, including their Surfboard, Archipelago Map, Crystal Skates, and Temessence Vial. Although frustrating, the player feels lucky just to be alive--but what about the others?
One-Eyed Matthew comes rushing out of the smog to find the player. He asks them to help him find the captain and any other survivors. As the player wanders around the Wreck of the Narwhal, they find scattered items, such as their Archipelago Map and Temessence Vial, along with various other passengers who all survived the crash. Adia Turay tends to a wounded passenger and mourns for her ship, but when the player approaches, she has them find Octlana; she will meet them there.
The player finds Octlana unable to move due to a broken leg. One-Eyed Matthew and Adia Turay gather there, relieved to see everyone survived, except for one. Kemal is missing. Adia Turay decides to stay with the ship, her aching pride, and tend to the wounded while One-Eyed Matthew rushes off to find help. The player decides to go after Matthew and seek help as well. Before they leave, however, Octlana informs them of their location--the eastern tip of her home-island, Tucma. Since she does not know the way to Quetzal from their crash-cite, their only hope is Naolin, a hermit who lives by the Amethyst Barrens. She continues to regrettably inform the player they will have to pass the Corrupted Badlands, filled with bandits and smugglers.
Along the way through the Badlands, the player pleads for help but still faces attacks and robberies from several different Tucmani surface-dwellers. A few point the player towards Naolin, and some vilify him. He stands in some kind of opposition to the Bandits. Finally, they reach Naolin, who is completely covered and holding a staff. The player informs him of the Wreck and the wounded crew, but he says he does not have the resources to help. Instead, he points the player west through the Xolot Reservoir towards the city, Quetzal. The medical help and the Smiths' Guild within the city will have the tools needed to repair the Narwhal and heal its crew. He also warns the player not to drink or even touch the waters of the Xolot Reservoir. However, they might find Sugey, a woman of science who might provide additional assistance. Finally, he gives the player a Tucmani mask in order to protect them from the toxic fumes.
On their way through the Reservoir, the player encounters more bandits, children who idolize the bandits, and researchers, but also begins to encounter the Quetzal Guard. The first guard, a scout, asks the player if they have seen a specific individual wanted by the Guard. Although he cannot provide any details about their appearance, he can provide a name, which very closely resembles the player's name.
They find Dr. Sugey's Lab, a place of rest for the player. Dr. Sugey herself offers her HealTem Station for the player's Temtem and tells them to inform the nearby Guards so they can send a rescue party to their ship. She continues, however, and tells the player that the Guards are on edge because of someone who has caused trouble for the city, specifically the Smiths' Guild and the Dojo. She does not know their name. As the player is leaving, she also requests that once everything is sorted out and everyone is safe, the player return to her and assist her with something.
As the player approaches the guards for help, they instead attack the player. They try to arrest the player for an unknown reason, and accuse their crew of being "partners in crime". Even civilians who learn the player's name feel threatened and call for help. Upon finally reaching the Nahua Crater and trying to enter Quetzal, the two guards at the entrance call for their captain, saying they have caught the troublemaker. Captain Koli emerges from the underground, and agrees that the player is the criminal they have been looking for. The player tries to explain their need for help, but Koli instead arrests them, puts them in prison, and informs the Guild and the Dojo that the city is safe.
In prison with no Temtem or items, the player ponders their situation. How did they get here? What was going to happen? Why did the Guard think they were a criminal? They pine away their time by reading some books, chatting with the guard, doing some exercise, and chatting with their cellmate, who turns out to have been a stowaway on the Narwhal. Soon, One-Eyed Matthew visits the player in prison. He explains that someone has been using the player's name and causing trouble in Quetzal, which is why they have ended up in jail. Because they cannot convince the Guard of the player's innocence, Matthew does what he feels is the only option, and attacks the jail guard. With this diversion, the player and their cellmate the Stowaway escape. Two guards block the path to the city, so the player must delve into the Mines of Mictlan.
Just inside the Mines, the player finds the Stowaway, who feels he owes the player for helping him out. He shows the player to a house with an old friend of his, a reformed bandit. Before dipping away, he advises the player, now a highly-wanted criminal, to lay low by hiding in the mines. The sounds of the guard's footsteps interrupt the two. As the Stowaway slips away into the mines to look for a way into the city the player hides in the house.
Inside, Ocelotl at first turns away the player before they explain their situation. He believes them. Guards bang on the door and demand it opened, so Ocelotl hides the player behind some bookcases and then answers. He acts senile and confused, offering them coffee, and pretending to think the guards are smiths and are women. They eventually give up and leave. With the guards gone and room to breathe again, Ocelotl gives the player four Temtem to protect themselves from the miners and from wild Temtem in the mines, explaining a back-route into the city through the caverns.
Along the way, various miners claim to recognize the player and accuse them of destroying the mines or causing other problems. Once they reach the other side, they encounter the Stowaway again, wearing a hood and a cloak. He warns the player that everyone in the city knows they escaped from jail, and what they look like. They have even hung up posters everywhere with their face. In order to remain safe and hidden, he gives the player a hood and a cloak to wear. The disguise will not help the player leave the city, however; Koli has posted guards at the airship terminal at at the main exit to the surface of Tucma. They question anyone exiting or entering. The Stowaway suggests the player try to find help at the Dojo since they are a tamer, and "they are supposed to be your people, right?" Finally, he concludes with a gift, and returns the player their items and Temtem after having sneaked back into the prison and retrieved them from the chest. The Stowaway flees into the city.
As the player first enters Quetzal from the Mines, they witness someone who looks very similar to the player run past. They have the same hairstyle and wear the same clothes. Guards follow soon after, and ask the player if they saw where the fugitive went. After they leave, the player notes that the fugitive strongly resembled them, and that they need to find help at the Dojo.
Throughout the Dojo, various tamers remark the player's hood. They feel suspicious and uncomfortable, and note that other people have been going through to Dojo in cloaks and hoods as well. After battling the player, some feel more optimistic and disassociate them from previous tamers they may resemble. Others retain their feelings of disrespect. Some note the player as a tamer Yareni wants to test, but complain she should close the Dojo to foreigners.
Upon the player encountering Yareni herself, the Dojo Master expresses disdain that they would return after causing so much trouble in the city, and that she only allows them to face her out of their sacred traditions of hospitality. After trying to explain that this is the first time they have met the Master, she has disbelief. She believes spoke to the player a few days ago, and that the player has sabotaged the Smiths' Guild, closed the entrance to the Mines, and caused landslides. The player pleads their innocence, and Yareni decides they sound sincere. Giving one last chance, she agrees to fight the player.
After the player defeats Yareni, she notes that the fight was honorable and not how the player "fought last time". Convinced, she believes the player's innocence, since in Temtem fighting, everyone reveals their true selves. She appologizes for not believing at first. Her and the player head to the Captain Koli and the guards posted at the city's exit to the Tucma surface. When the player first removes their disguise, the cloak and the hood, the Captain accuses them of being the runaway, but Yareni continues to explain the difference between the player and someone who has been impersonating the player, besmirching their good name. After the Master declares that they are an honored guest of the dojo, Koli apologizes for himself and on behalf of the Guards, and declares them welcome in the city.
The player continues by explaining their crew's need of help and the crashcite in the Corrupted Badlands. Koli does not have the medicine or tools needed to heal the crew nor repair the airship, but he directs the player towards the Temporium and Smiths' Guild for each of those items. Just as the player leaves to help their friends, the Captain has one more thing to add. Matthew remains in prison. The player can visit him to negociate his release.
After the player frees Matthew, finds Kemal, helps Dr. Sugey, delivers the medicine, and enables the repair of the Narwhal, they are finally ready to resume their mission against the Belsoto--on to Kisiwa! Captain Magda at the end of the Quetzal Airship Terminal informs the player they cannot reach Kisiwa via Airship because of some sort of massive attack by unknown airborne forces. He refuses to risk and lives and sticks to the Deniz-Omninesian route. The only way the player can reach it would be through the ancient rock-hopping route Kupeleleza.
At the entrance to Kupeleleza, Kemal's boyfriend, Manki, explains the ancient cultural significance of rock-hopping and the basics of rock-hopping safety and technique. Then, he gives the player a Rock-hopping hook, so they set off through the path towards Kisiwa.
Nearing Kisiwa, Max confronts the player. They are frustrated by the player's vigilance, having hoped their and Belsoto's air blockade of Kisiwa would have detered them. They continue by trying to convince the player to join Belsoto. Max brings up Professor Konstantinos's desire for them to work together, and that if they worked together, the player and them could accomplish a lot more. They brag the Belsoto's powerful technology, powerful Temtem, continual growth in numbers, and a flying fortress. Although the player refuses, Max remains convicted that they will one day be comrades.
After reaching the border, the player discovers they cannot enter Kisiwa via the western exit. It has been destroyed by the Kisiwan Resistance in order to prevent the advances of the Belsoto, which control Uhuru. The Belsoto have waged war on Kisiwa, and the last legitimate, freedom-loving authority who fight to free Kisiwa is the Resistance. When the player tries to enter Kisiwa through the south route, the representative warns the player of the Belsoto-infested Mawingu Islets ahead.
Trivia[]
- There is a Temdeck buried in the rubble at the Narwhal's crash site. If you want to swap your Temtem around, this is the only opportunity to do so before you reach the Temdeck and healing station at Sugey's research site.
Gallery[]